In this guide
DictaMail Setup Guide: Getting Started in Minutes
Installation
First, let’s install the extension.
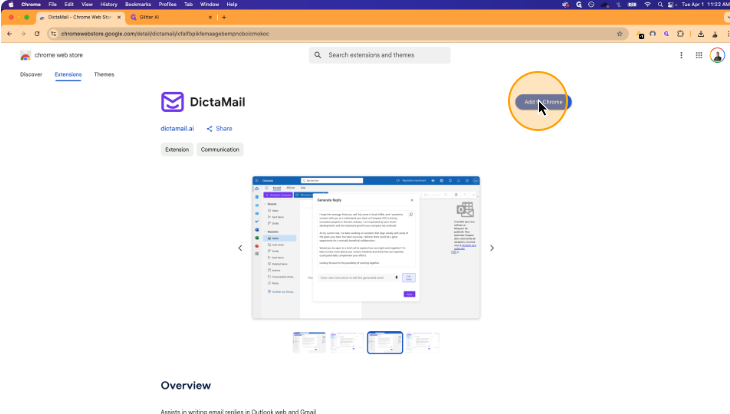
Use the Chrome Web Store to search for “DictaMail” or click the direct link. On the extension page, click the “Add to Chrome” button to start the installation.
Click on “Add to Chrome”
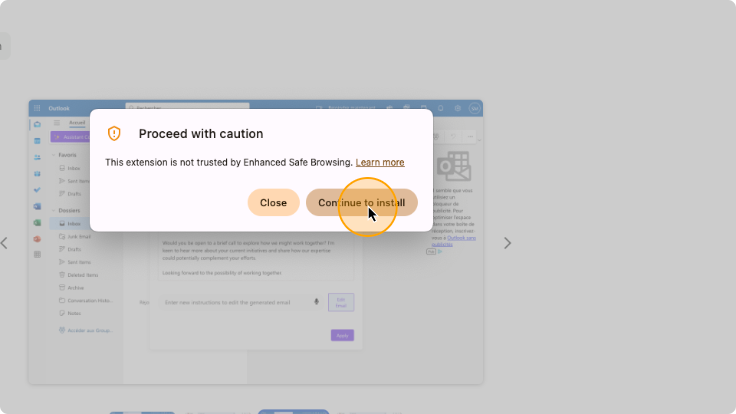
A pop-up will appear asking if you want to proceed. Click “Continue” to confirm and allow the installation to move forward.
Click on “Continue to install”
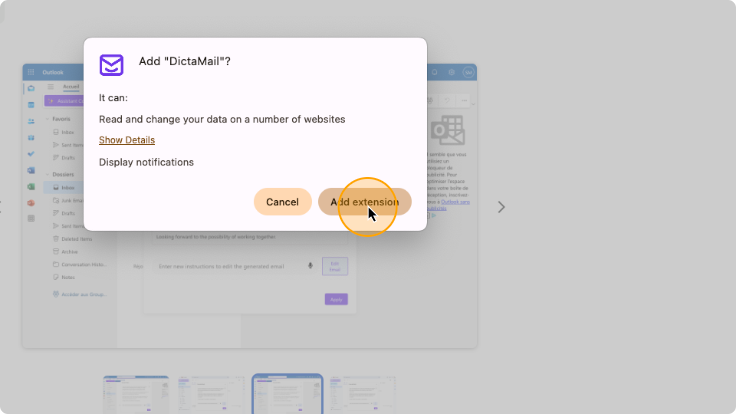
Another Chrome dialog will appear asking for required permissions. Click “Add Extension” to finalize the process.
Click on “Add extension”
After installation, the DictaMail icon will appear in your Chrome toolbar, indicating the extension has been successfully added.
Log In to DictaMail
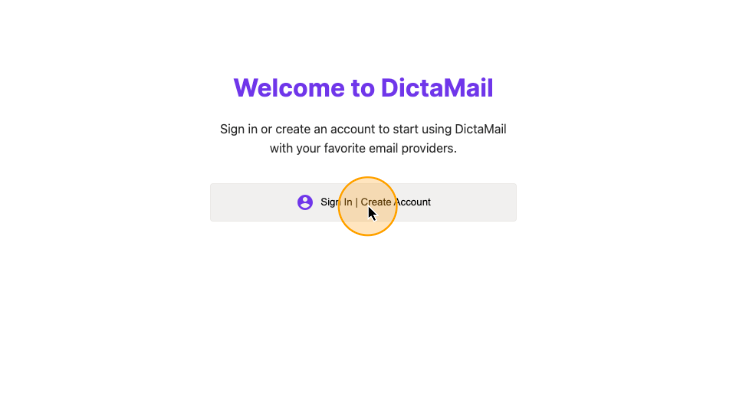
Once the extension is installed, a page will open asking you to sign in to DictaMail. Use the email you have used to register to DictaMail.
Click on “Sign In | Create Account”
Enter your email and password
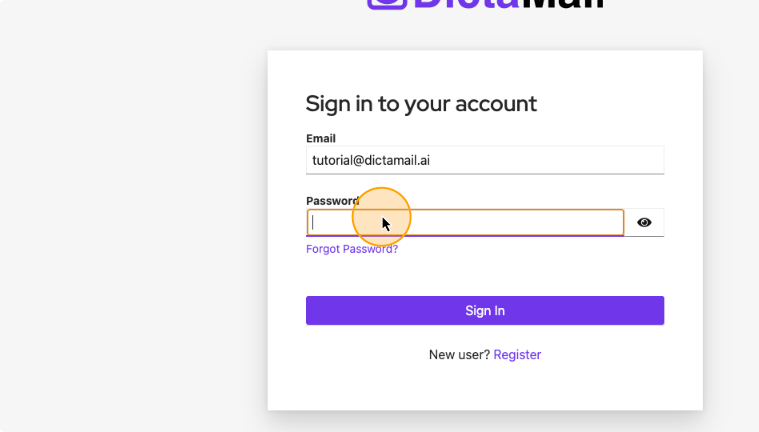
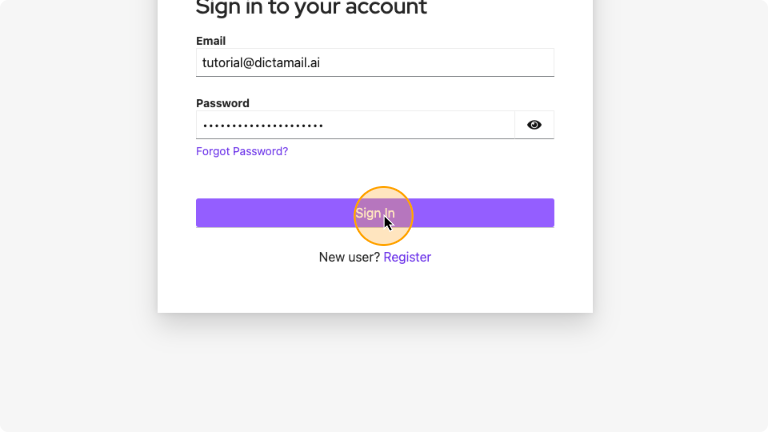
Click on “Sign In
Sign Up to DictaMail
Once the extension is installed, a page will open asking you to sign in to DictaMail. If you are a new user, you will need to create an account.
Click on “Sign In | Create Account”

Click on “Register”
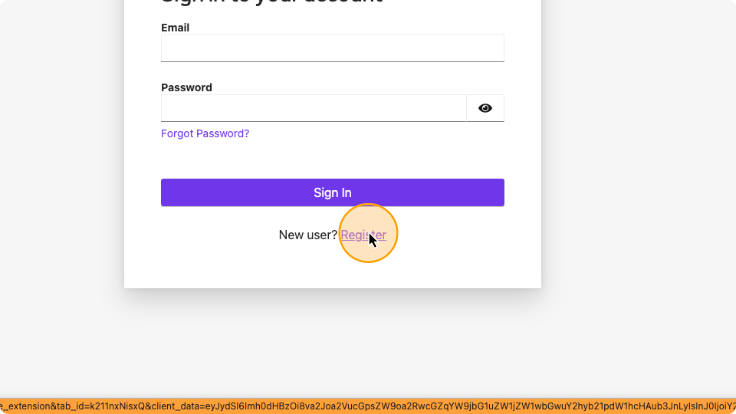
Fill the form with the proper information: email, password, firstname and lastname. Choose the email that will be used for the DictaMail account. You can use any email for this, whether or not it’s the one you’ll use to generate emails with DictaMail. It will only be used for billing purposes. One DictaMail account can be used with several emails and email providers.
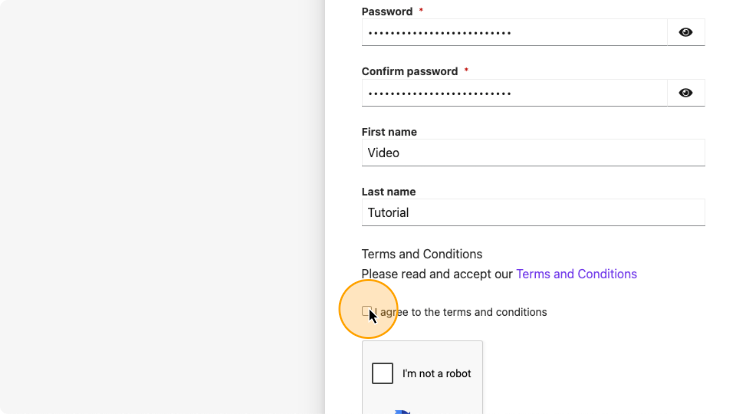
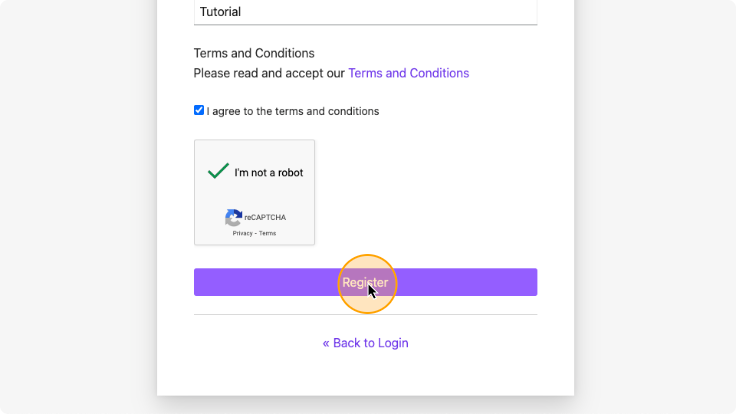
Make sure to agree to the Terms & Conditions and verify that you are not a robot.
Fill the form
Click on “Register”
Authentication to Webmail (Outlook, Gmail)
- Full access to your email content, enabling more context-aware email generation
- Ability to read conversation history for more accurate replies
- Seamless integration with your email interface
- Access to email metadata (recipients, subject lines, etc.) for better suggestions
- Requires granting DictaMail permission to access your email account
- Access restricted by some companies that use Microsoft 365
- Additional authentication steps during setup
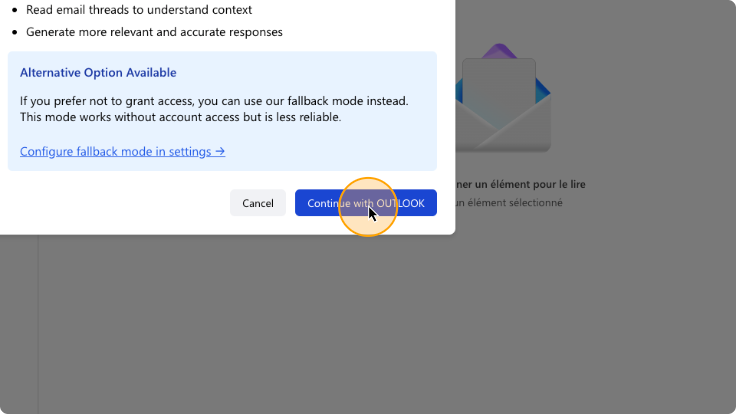
To allow DictaMail to access your emails directly through Outlook, click on “Continue with Outlook.”
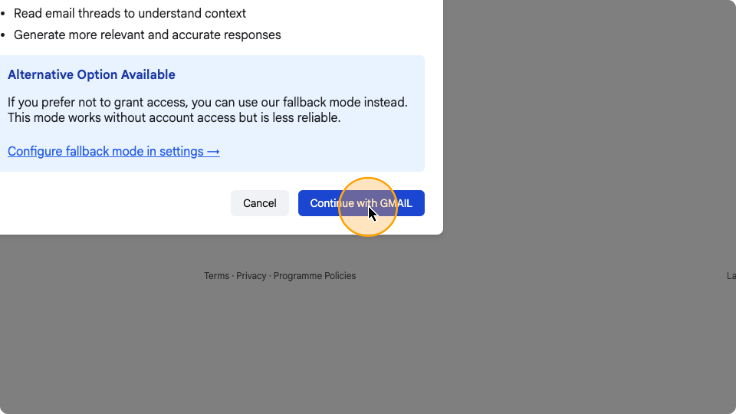
Click on “Continue with OUTLOOK/GMAIL”
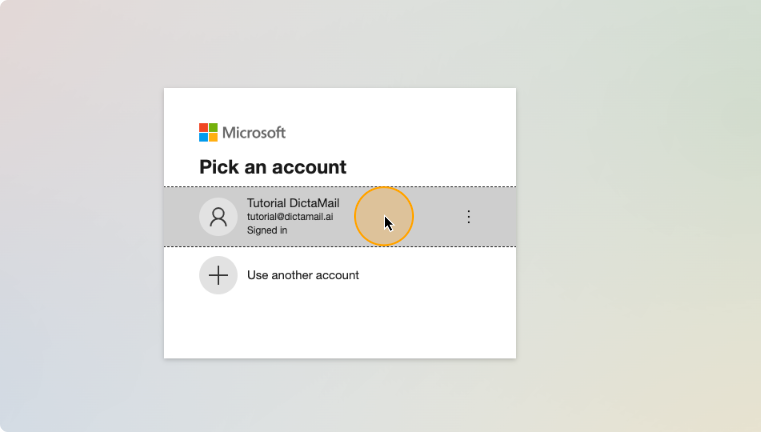
Choose the current email account
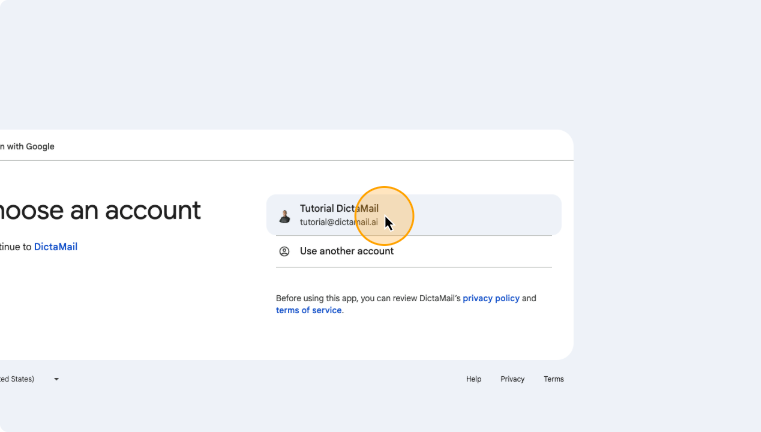
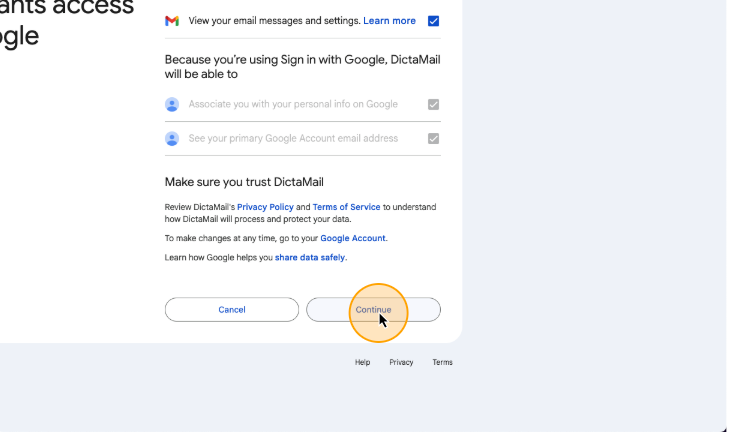
Gmail only: click continue
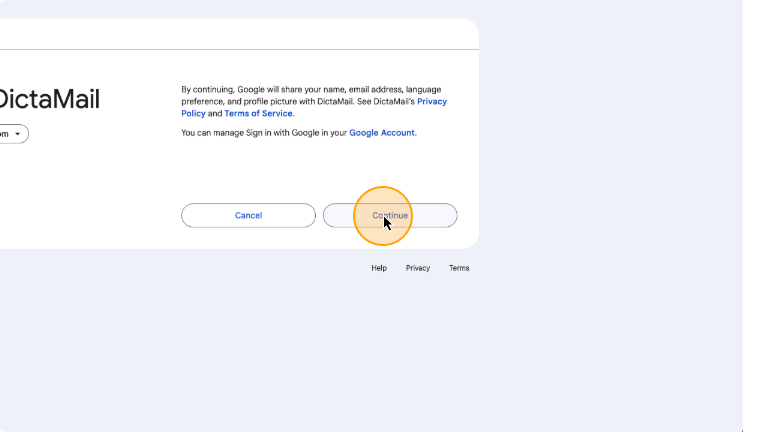
Gmail only: tick the box
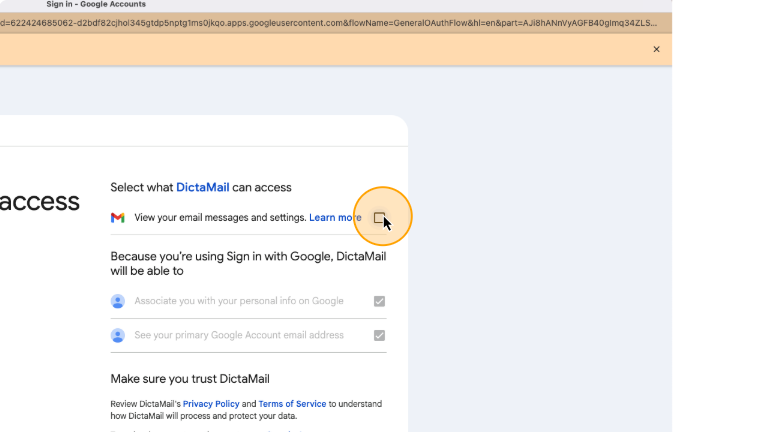
Grant access to DictaMail
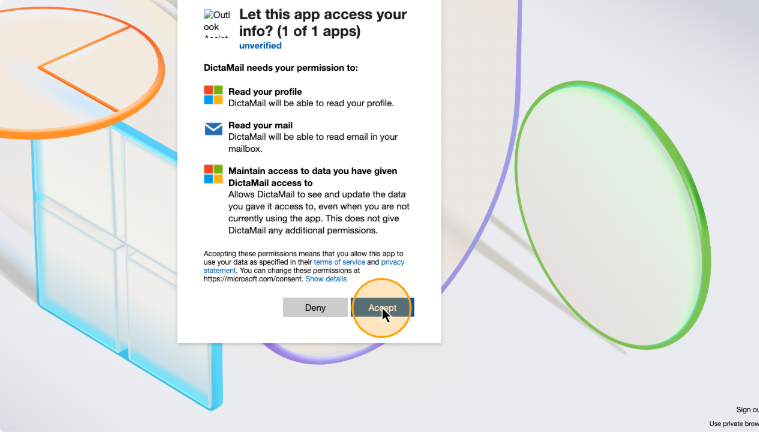
Fallback Mode
When you click on Assistant Compose or Assistant Reply for the first time, you will need to authenticate with Outlook or activate the fallback mode.
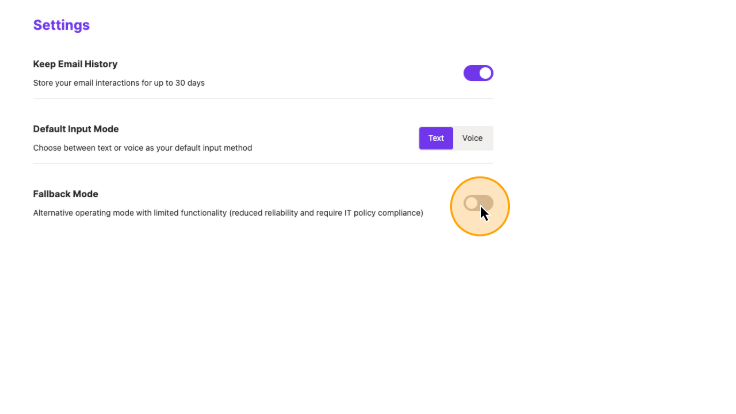
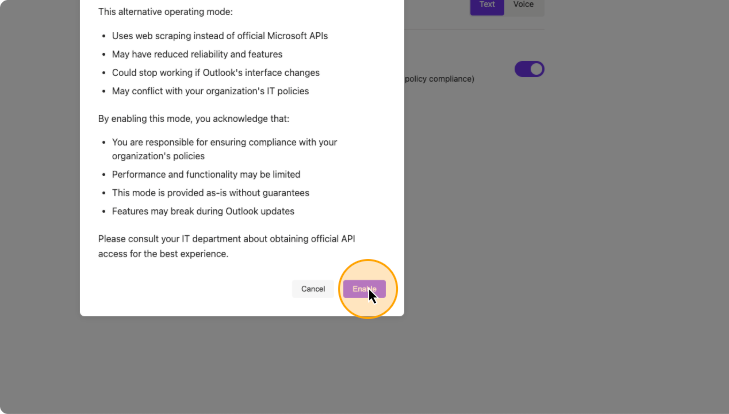
The fallback Mode allows you to use DictaMail without granting it access to your email content. If you do not want DictaMail to directly access your email, you will need to activate the fallback mode.
Pros:
- Simpler setup with fewer permissions required
- Less dependency on your email provider’s API permissions (some tenants in Microsoft 365 do not allow to share such permissions)
Cons:
- Limited context awareness
- May generate less personalized responses
- Less reliable
- Some advanced features may be restricted
- Email content must be transmitted to DictaMail’s servers
If you prefer the full functionality of DictaMail and are comfortable granting email access, refer to the “Authentication to Webmail” section above for instructions on setting up with direct authentication.
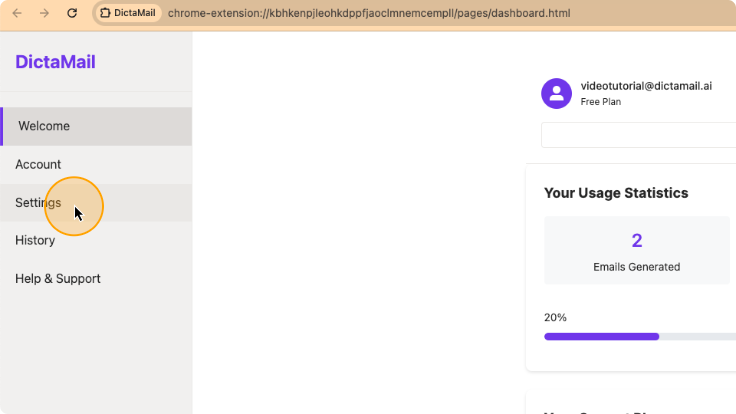
Once you are in the settings page of the extension, click on the settings icon in the left banner. If you do not know how to access the settings page, go to the Settings section of the documentation.
Click on the settings icon
Activate fallback mode switch
Click on “Enable”
Compose a New Email
First, let’s install the extension.
Click on “Assistant Compose”
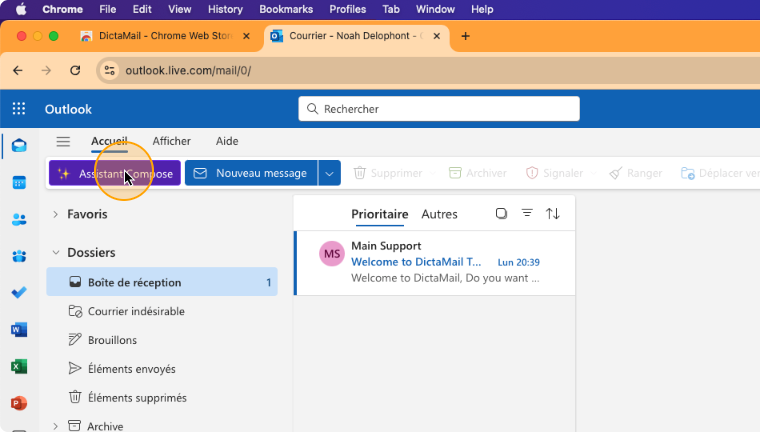
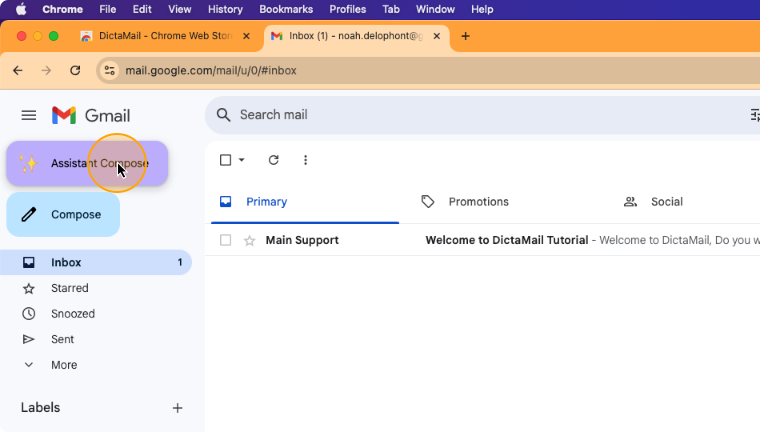
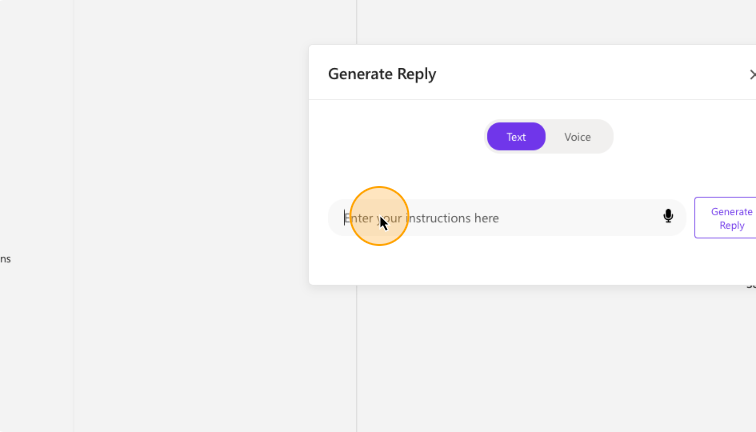
Enter the instructions that DictaMail needs to take into account when drafting the email, as you would with a secretary. Use text or voice.
Give your instructions
Click on “Generate”
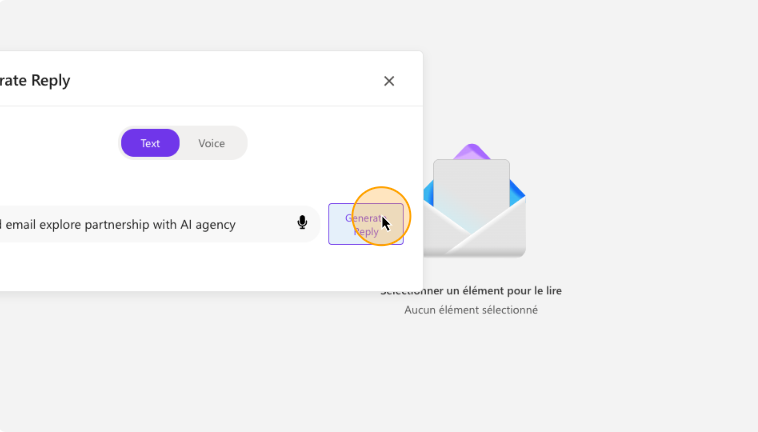
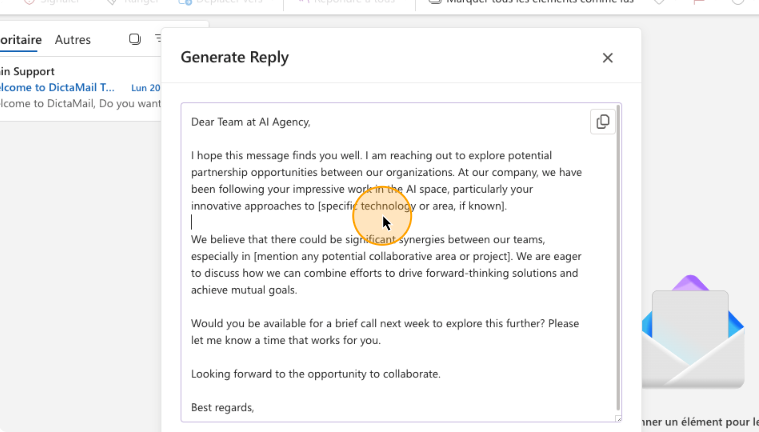
Once the answer has been generated, you can edit it directly by putting the cursor in the text.
(Optional) Click in the text area to edit the text manually
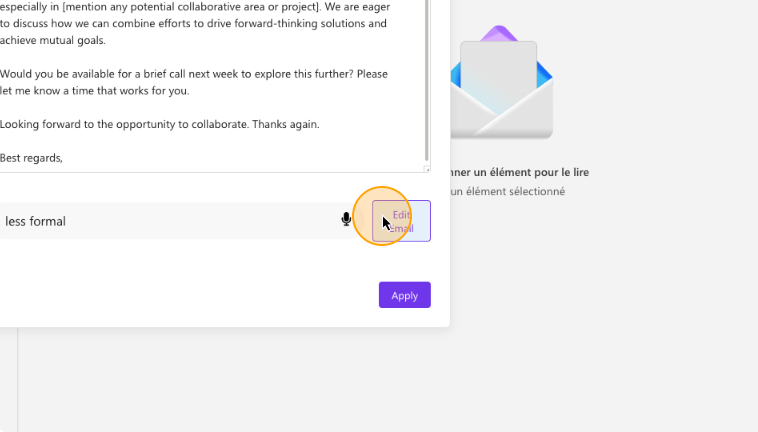
Update the email by adding new instructions. Click on “Edit Email” to edit the displayed email with the new instructions given
(Optional) Click on “Edit Email”
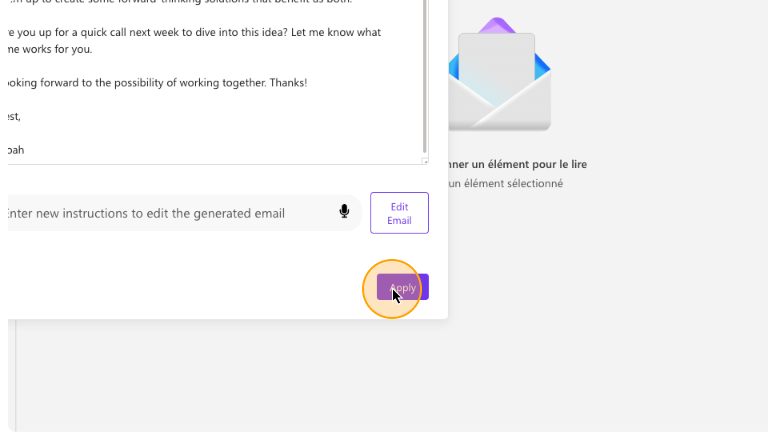
Click on “Apply” when you are satisfied with the text
Generate a Reply to a Conversation
First, let’s install the extension.
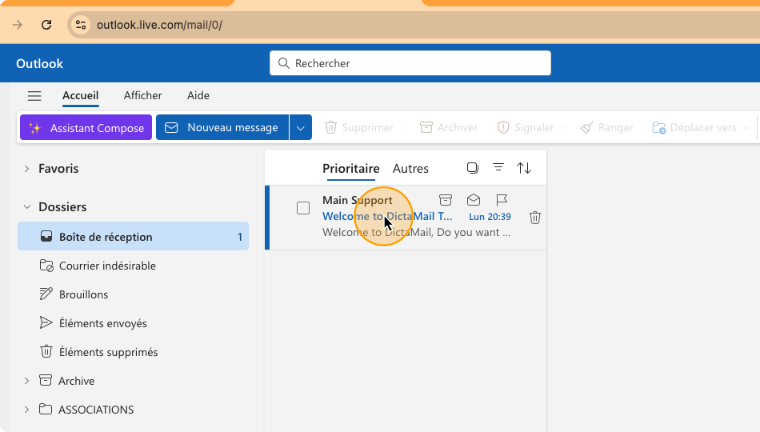
Select the conversation that you want to reply to.
Click on the conversation of the email you want to reply to
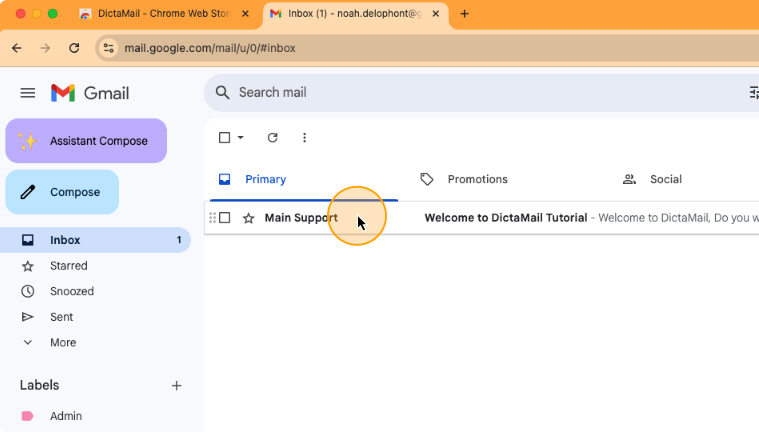
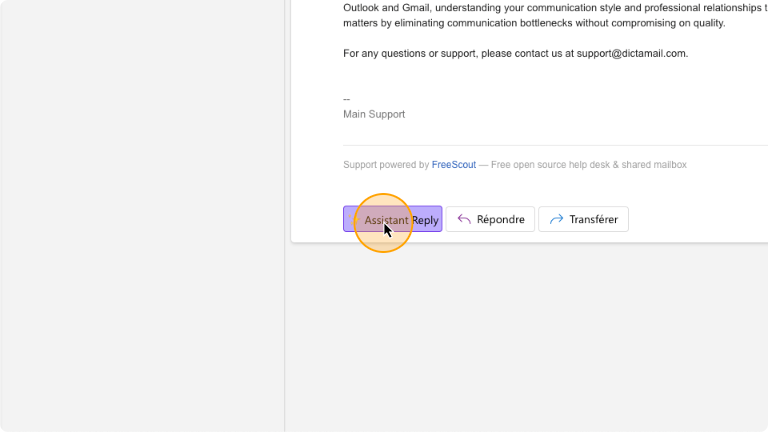
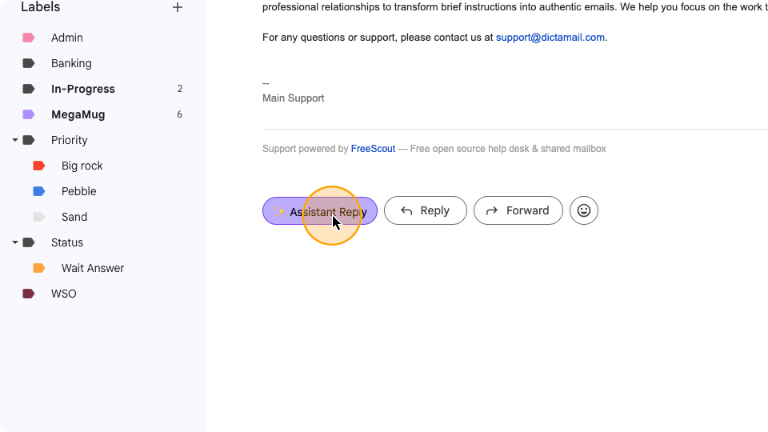
Find the assistant reply button at the bottom of the last email received in the conversation.
Click on “Assistant Reply”
Give your instructions

Click on “Generate”

(Optional) Click in the text area to edit the text manually

(Optional) Click on “Edit Email”
